> For the complete documentation index, see [llms.txt](https://docs.greennode.ai/llms.txt). Markdown versions of documentation pages are available by appending `.md` to page URLs; this page is available as [Markdown](https://docs.greennode.ai/vcdn/loai-hinh-dich-vu/transcoding-and-advanced-features/install-sigma-media-server.md).
# Install Sigma Media Server
Use the instructions below to install Sigma Media Server:
## Initialize Sigma Media Server on vMarketplace
**Step 1:** Go to
**Step 2:** On the main screen, search for **Sigma , at the Sigma Stream** service , select **Launch** .
**Step 3:** Now, you need to configure **Sigma.** Specifically, you need to choose:
* **Instance Type (CPU, RAM, GPU).**
* **Volume Type and Size, IOPS**
* **Network:**
* **VPC**
* **Security Group**
that you want to use for your server. You also need to select an existing Server Group or select **Dedicated SOFT ANTI AFFINITY group** so that we can automatically create a new server group.
**Step 4:** Proceed **to payment** as normal resources on GreenNode.
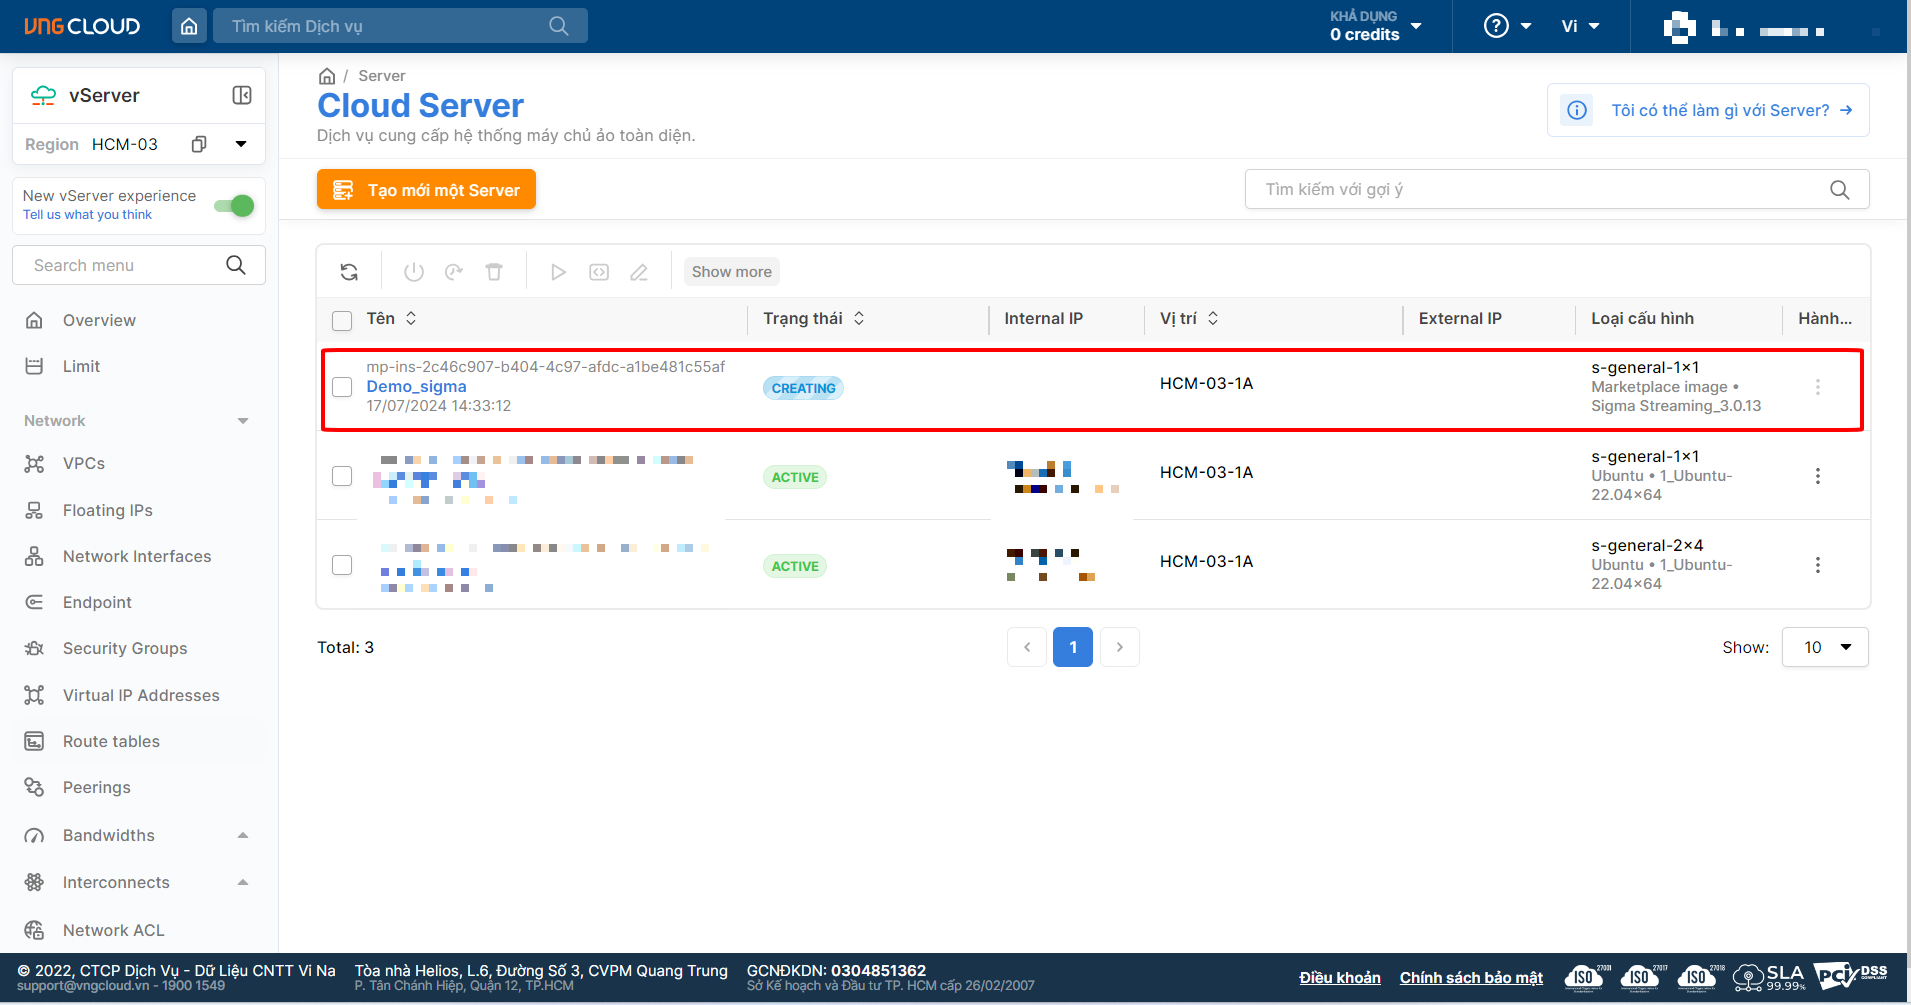
**At this point, the vServer** system will initialize a Server corresponding to the configuration you selected. Please wait until the server creation is complete and continue with the following steps.
***
## Configure parameters for Sigma Media Server
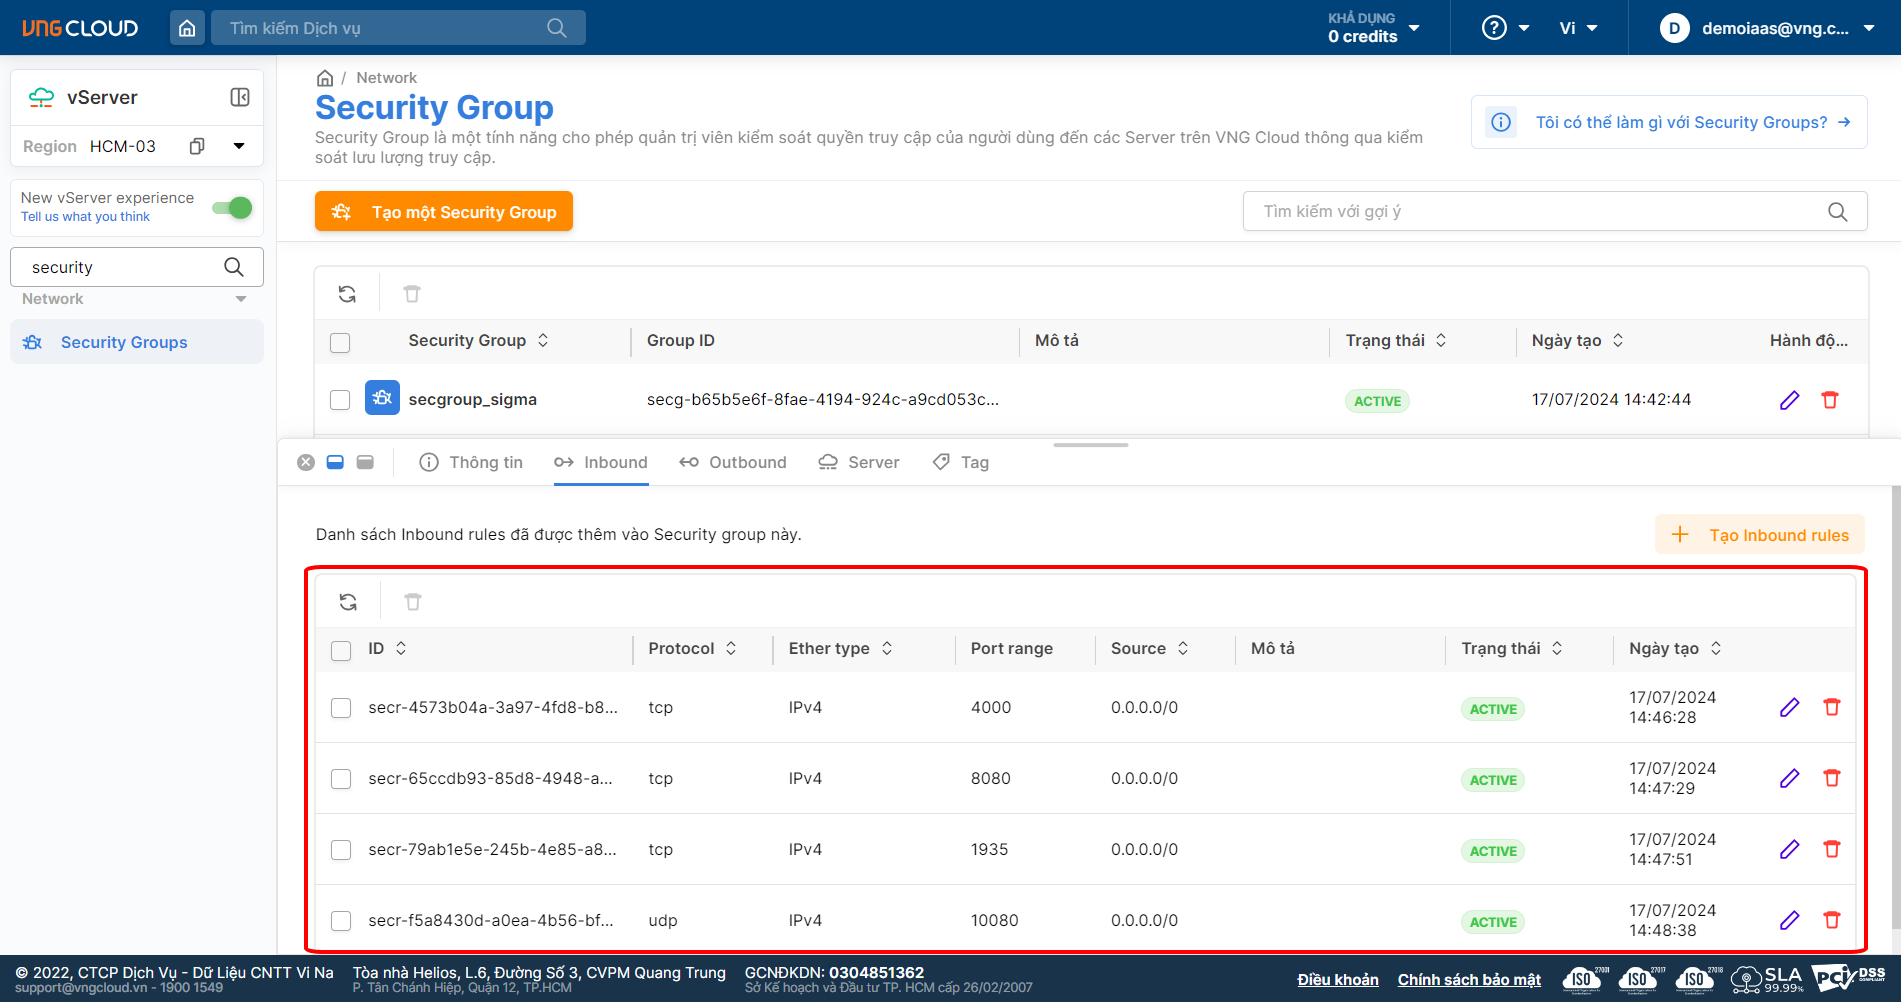
**Step 1:** After initializing Sigma from **vMarketPlace** according to the instructions above, you can access the vServer interface [here ](https://hcm-3.console.greennode.ai/vserver/v-server/cloud-server)**to** check if the server running Sigma has been initialized. **Next, you need to open the following on the Security Group for the newly created Sigma server.**
* 4000 (TCP): Portal
* 8080 (TCP): HTTP origin (nginx)
* 1935 (TCP): RTMP
* 10080 (UDP): optional for SRT protocol
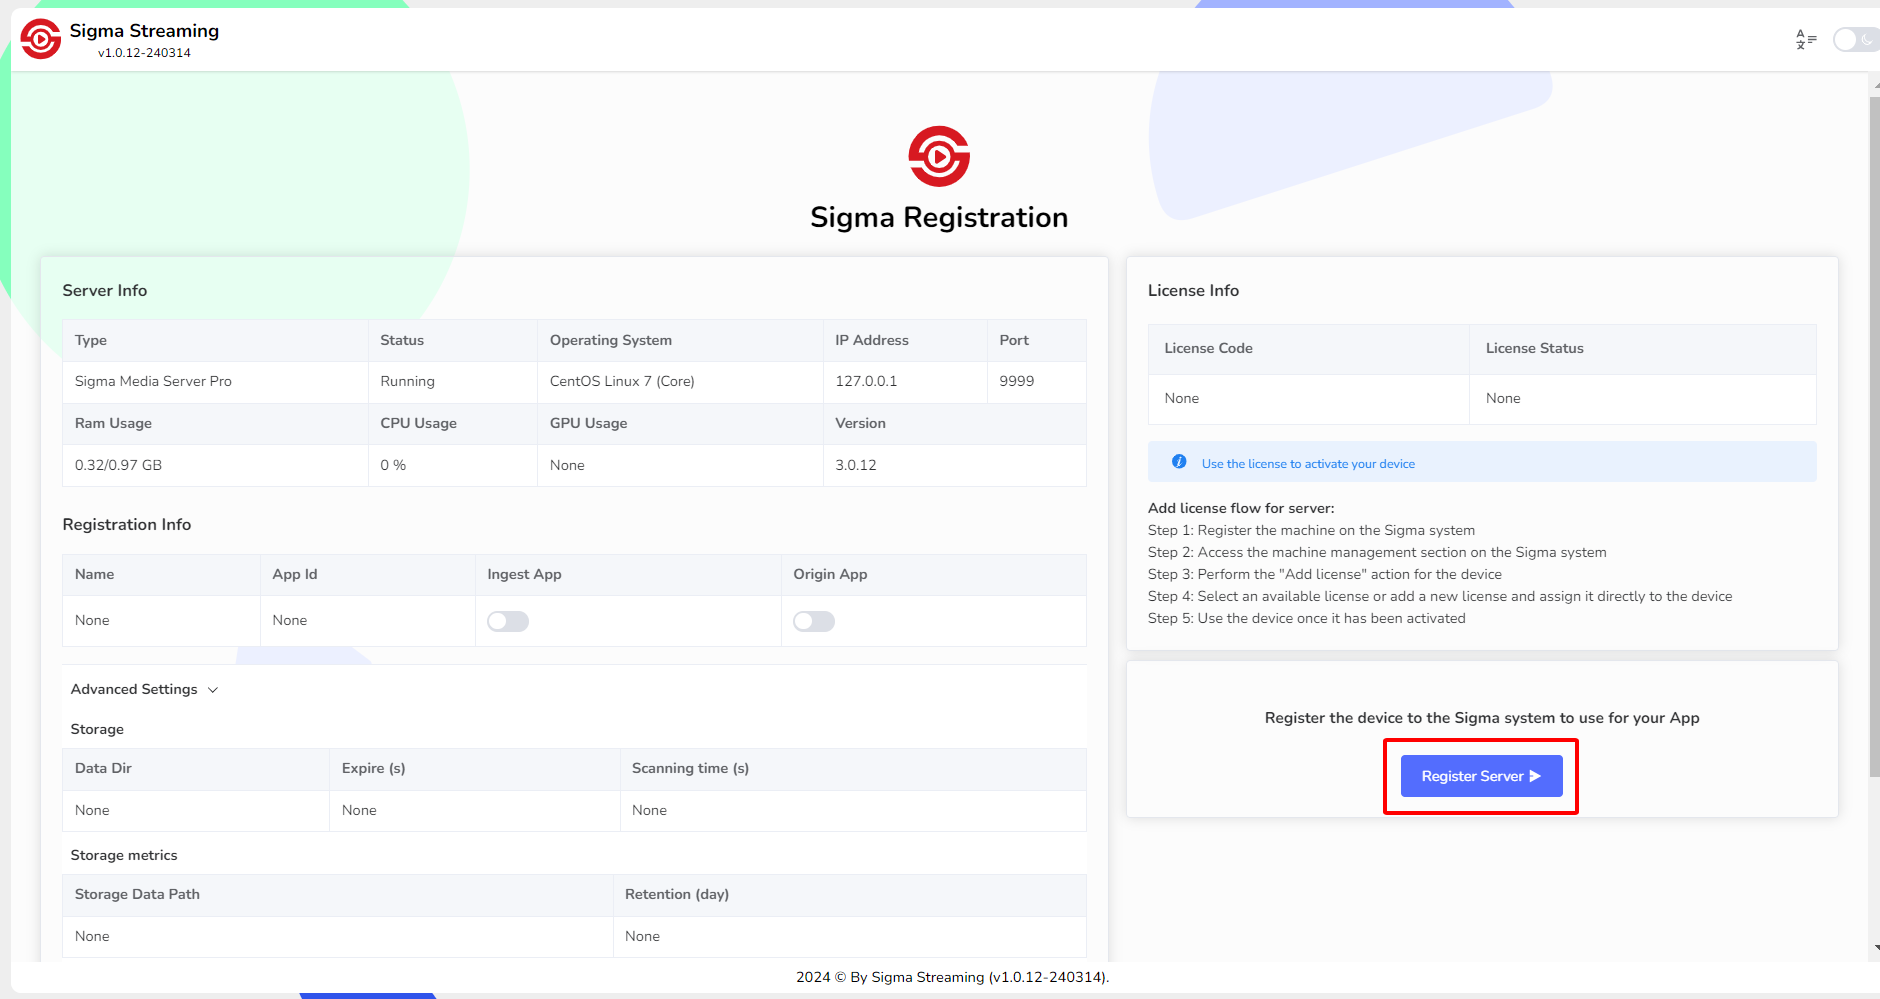
**Step 2:** After the Sigma server is successfully initialized. To access the Sigma GUI, you need to use the External Interface IP address and access the link: ******
**Step 3:** At Sigma's GUI, select the **Register Server** button
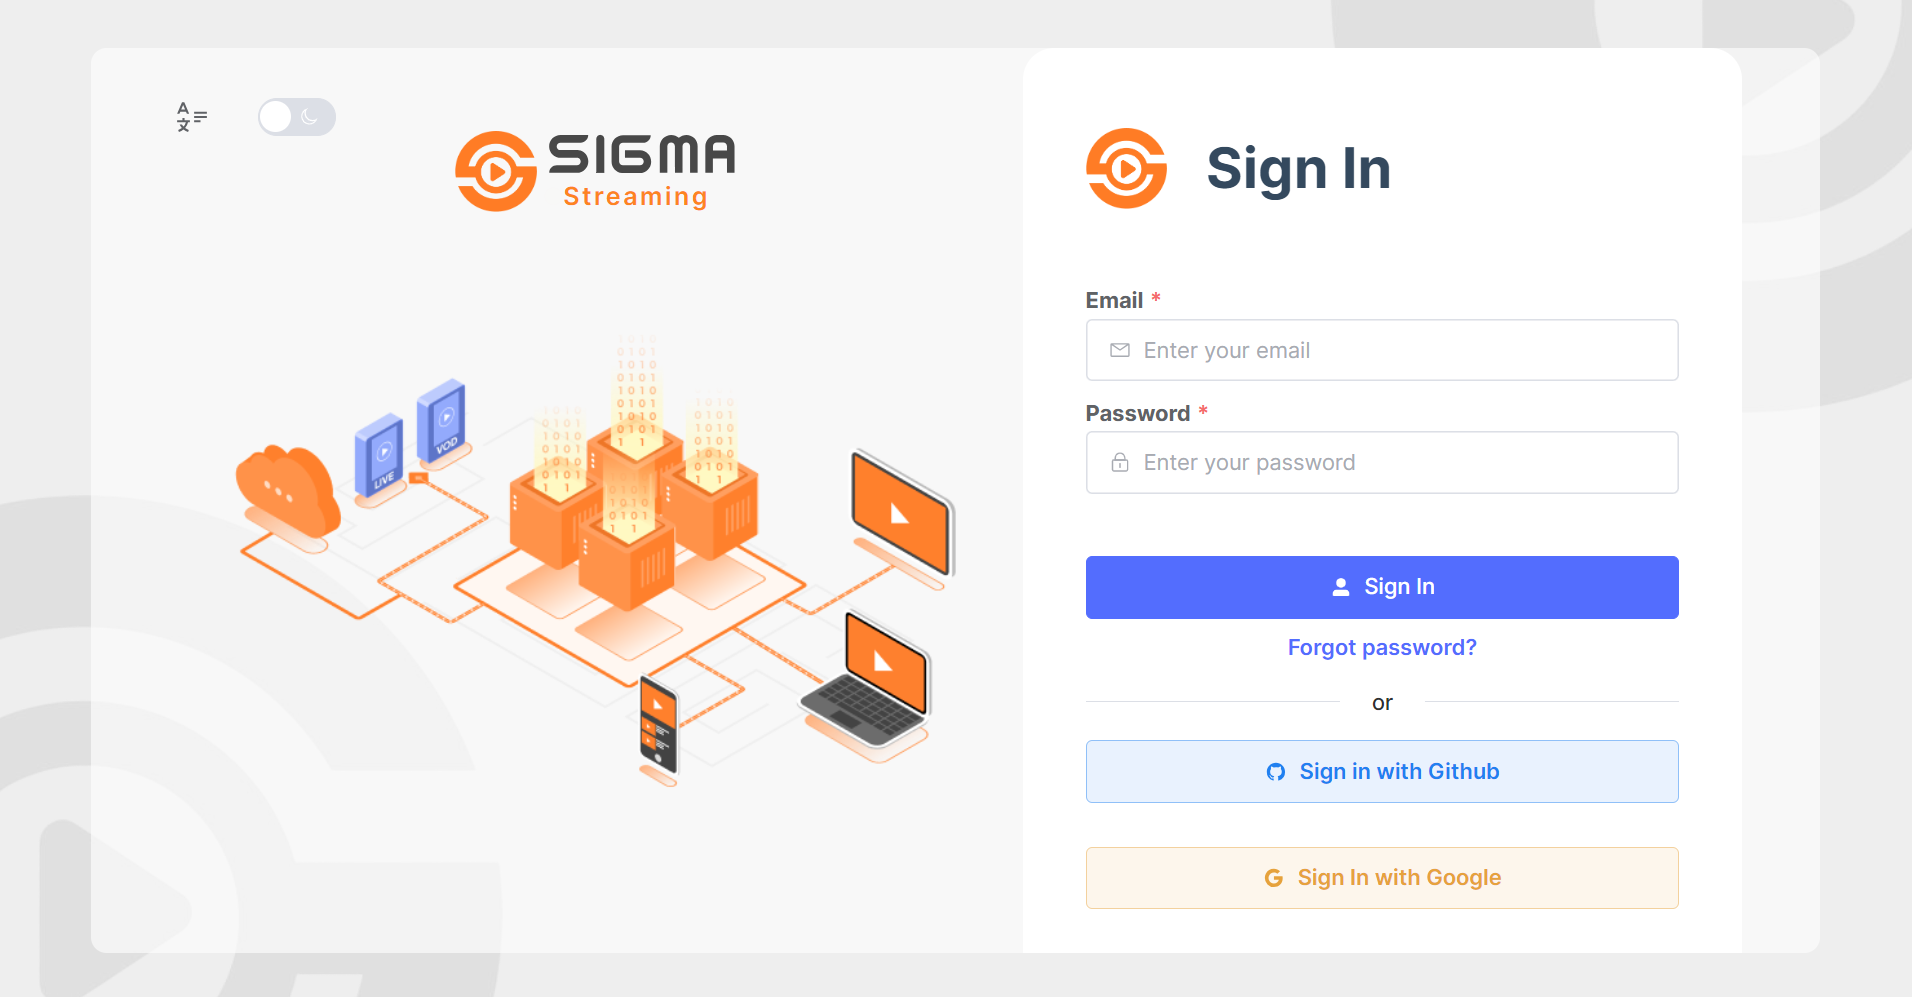
**Step 4:** Enter **Email/ Password** if you have one or choose **Quick Login** with **Github** or **Google** . Here, I choose to log in with my Google account.
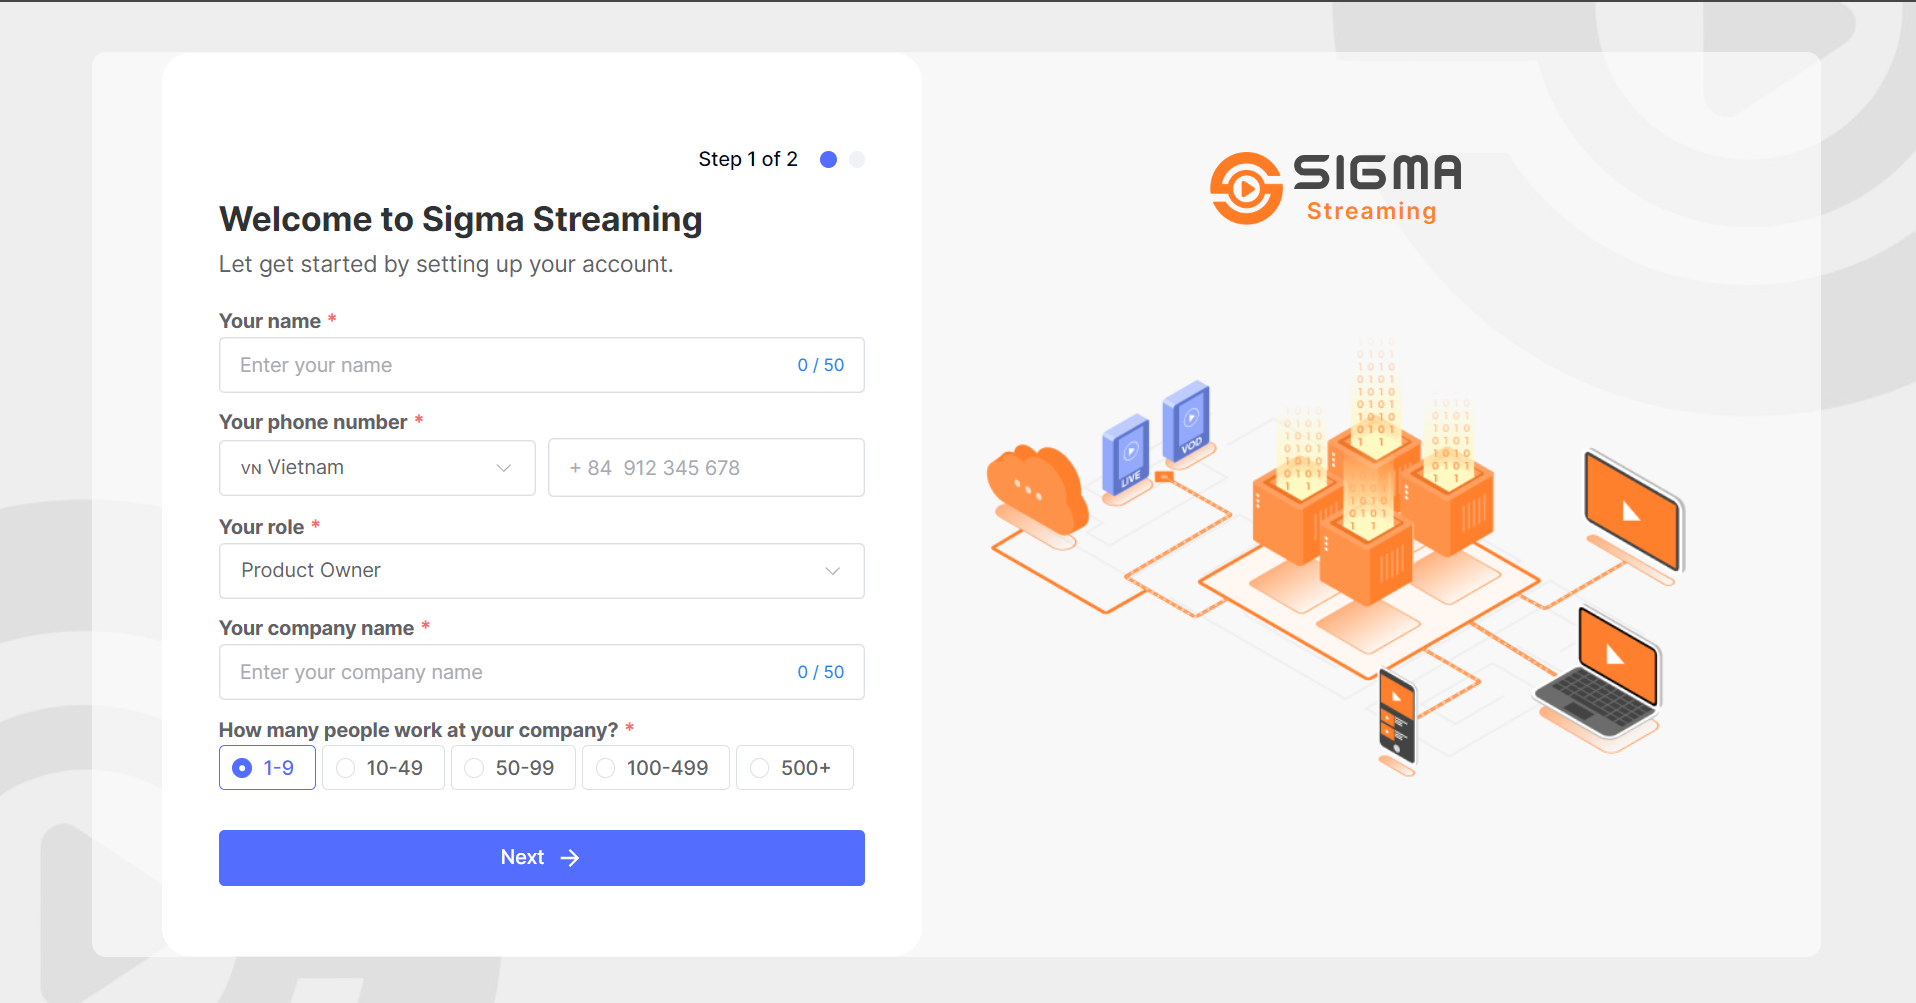
**Step 5** : After the system successfully performs **authentication** , you need to enter basic information for Sigma including:
* **Name**
* **Phone Number**
* **Role**
* **Company**
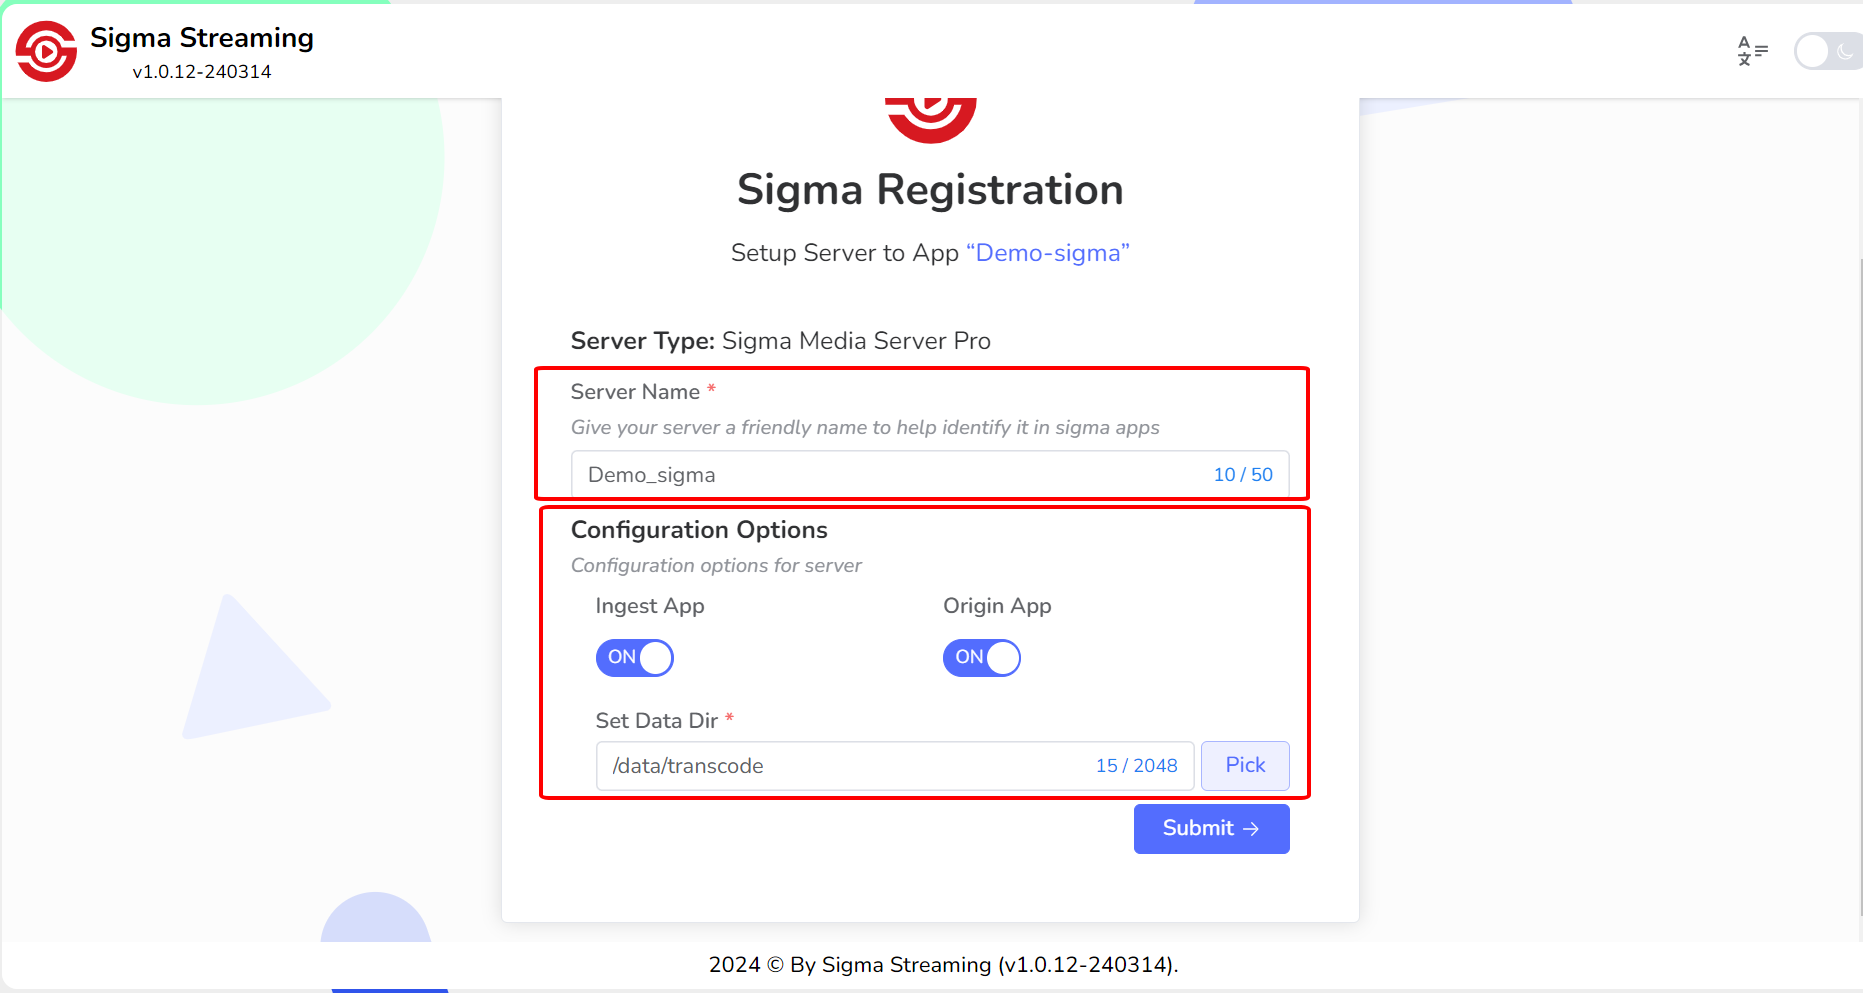
**Step 6:** Enter **the server name** . You can get this server name from the GreenNode portal. In the example below, I use the Demo\_Sigma server created earlier.
**Step 7** : You can adjust on/off configurations including:
* Turn On/Off using **Ingest App** by selecting ON, OFF icon
* Turn on/off using **Origin App** by selecting the ON, OFF icon
* Install **Data Dir** by selecting the Pick button
* Select **Submit** .
**Step 8** : At the server deployment warning screen, select **Yes**
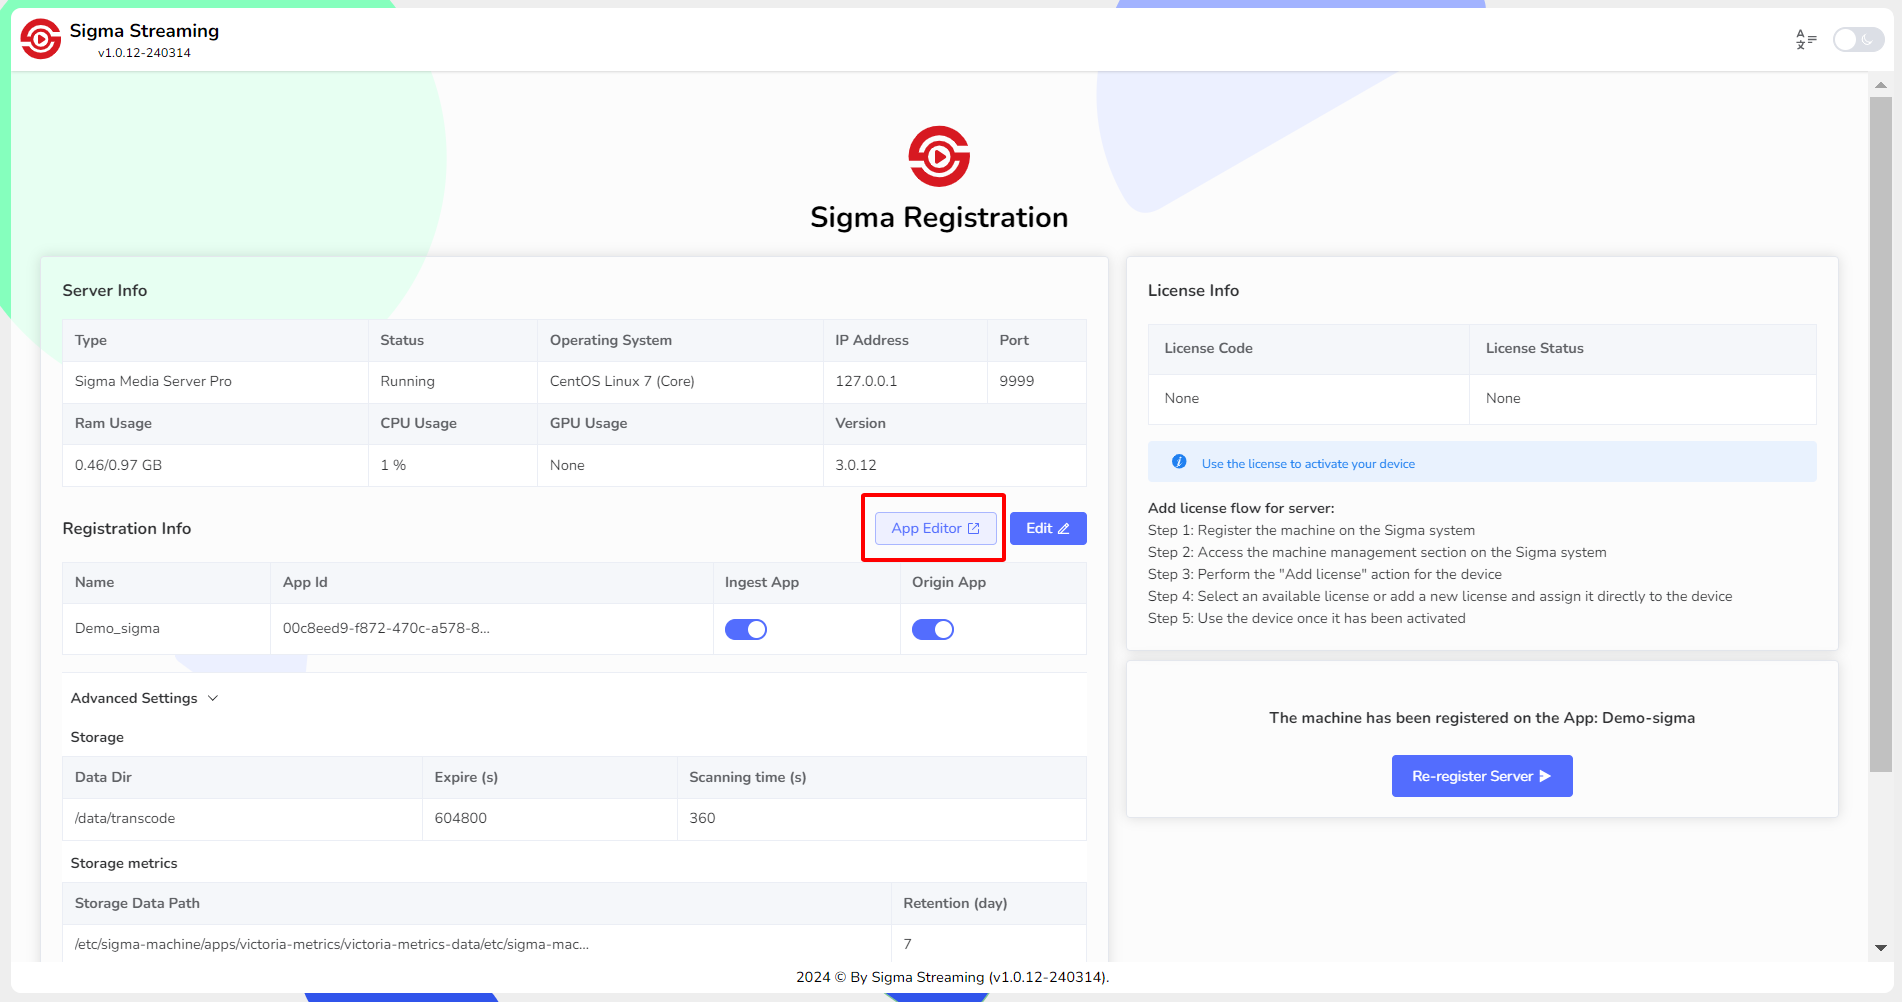
**Step 9:** Continue to select **Done** , the screen will display as follows, continue to select **App Editor.**
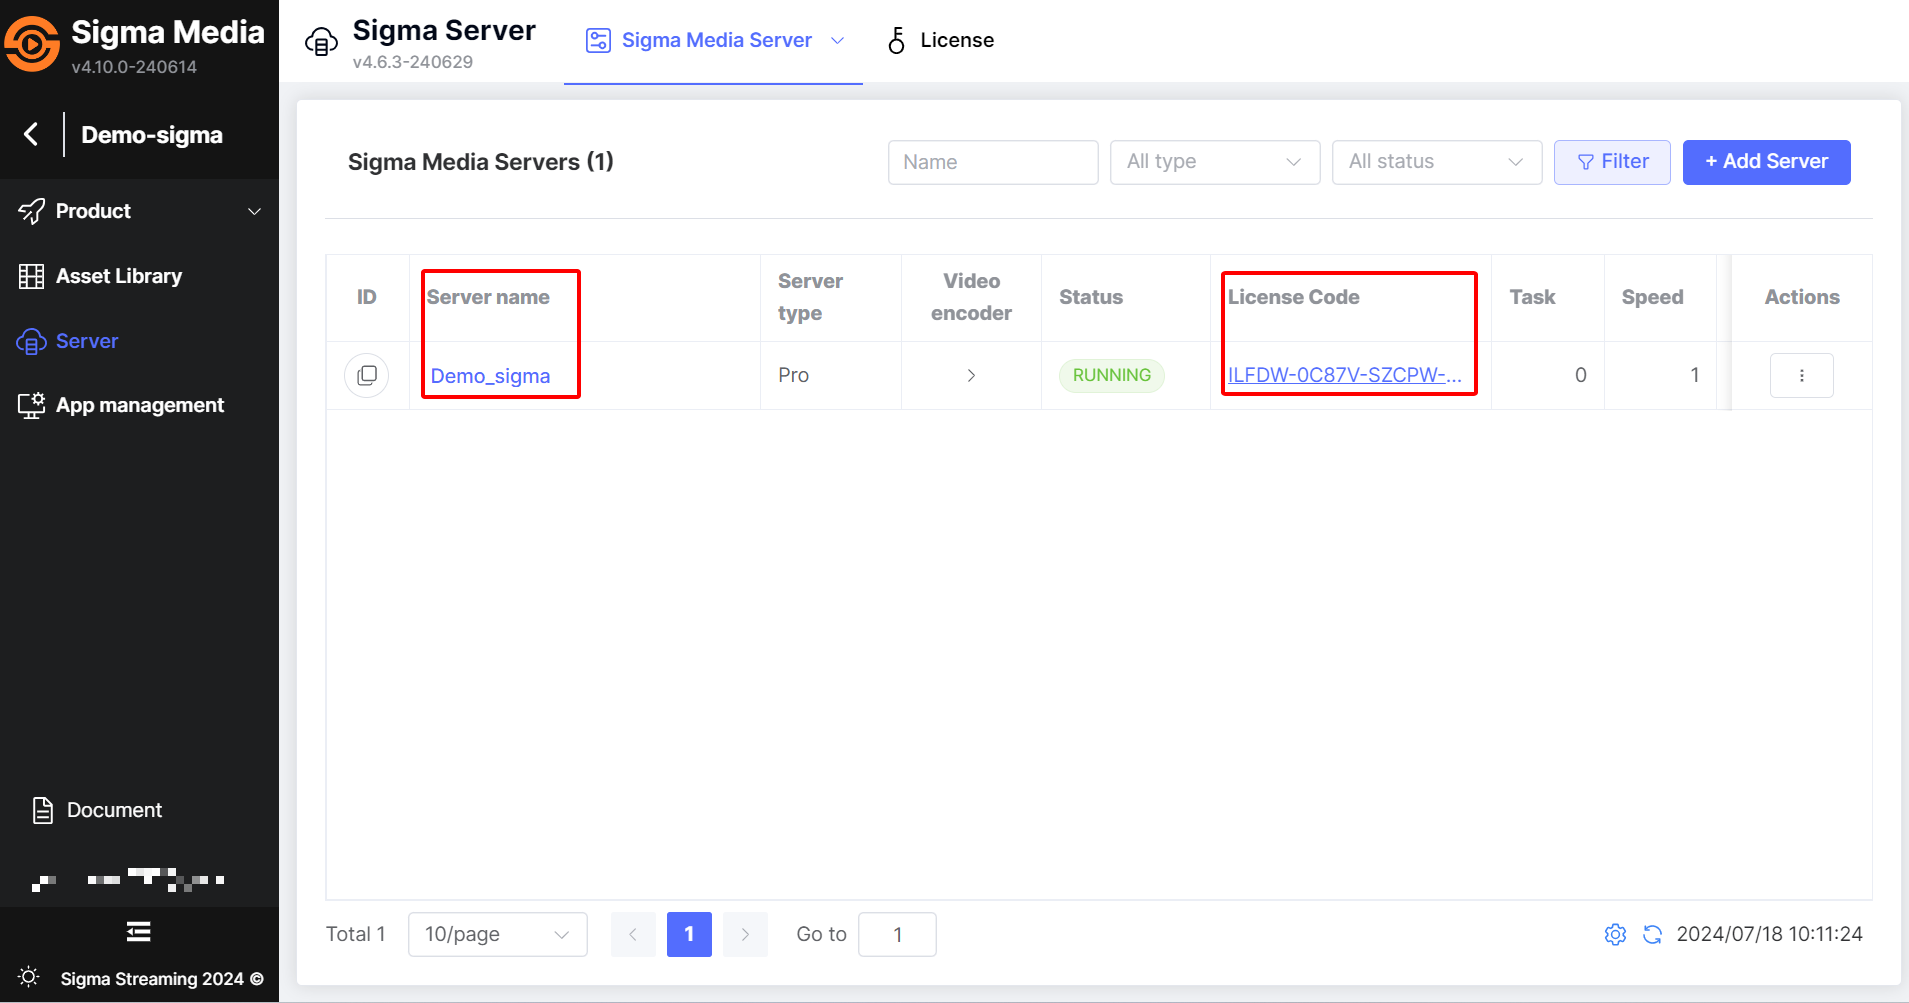
After accessing **the Sigma Media Portal** , you will see the previously created server information from **vMarketplace** and the corresponding **License** information.